
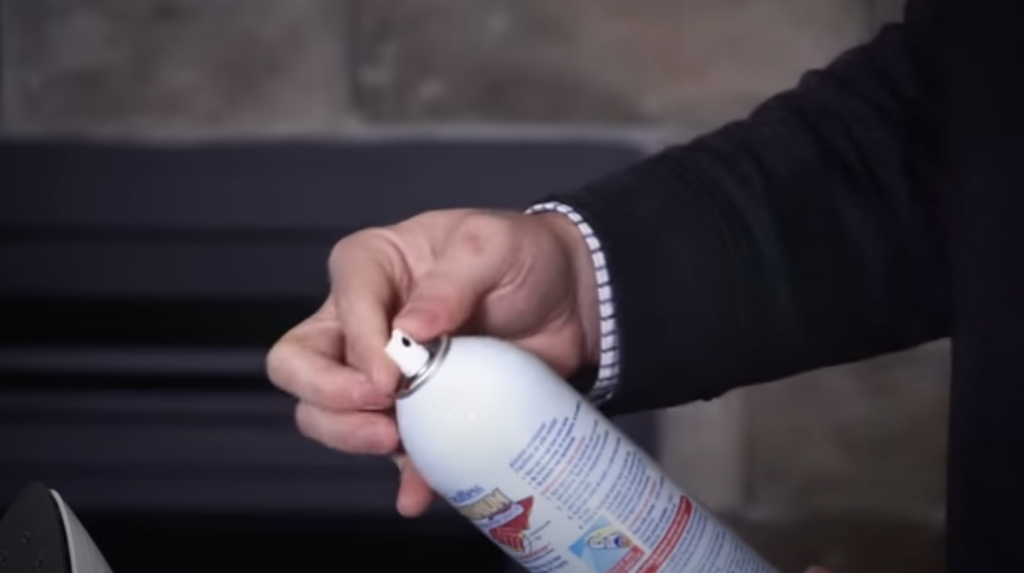
Your iron is your ally in the never-ending fight against wrinkles. Make sure you’re doing everything you can to keep it running right. A dirty iron can cause fibers to grab and, as a result, the iron begins to drag and causes you to spend more time ironing. There’s no need to worry though. We’ve got a quick and easy way to get your iron running right.
1: Start by emptying water from the steam can
2: Make sure the iron is HOT (cotton setting)
3: Squeeze 2 inches of Faultless Hot Iron Cleaner on an old towel (100% cotton)
4: Rub the hot iron over the towel in a circular motion
5: Move to a clean area of the towel and wipe
6: Wipe thoroughly
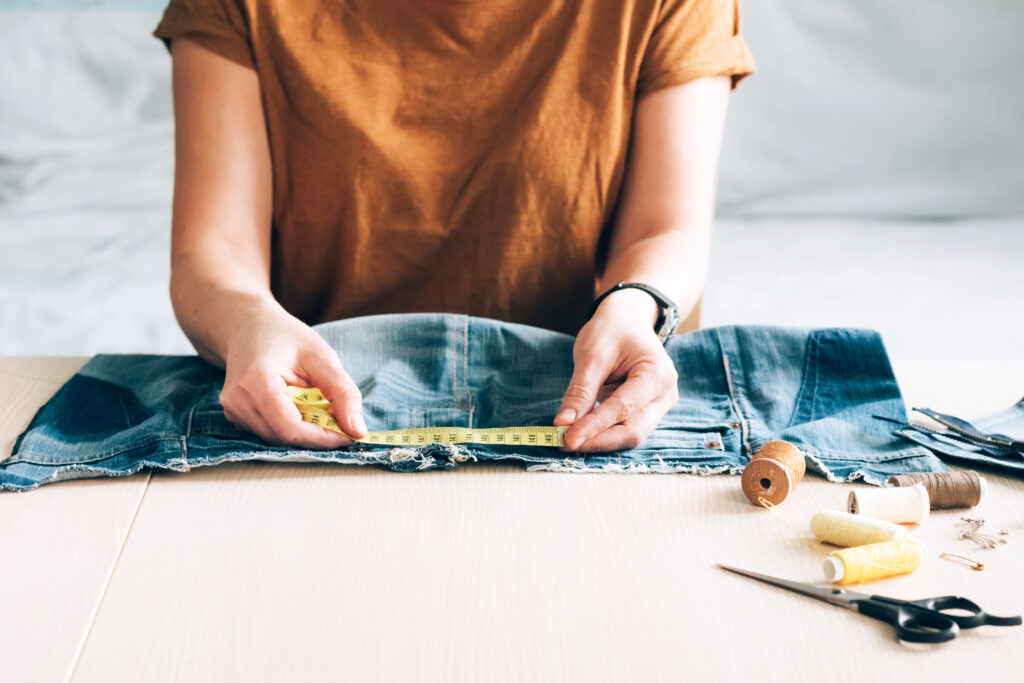
- Head to the tailor
Most retail sizing doesn’t provide an adequate fit for every shape and size—chances are, there are a few classic items in your wardrobe that you never had tailored (but probably should have). Whether it’s a pair of too-long jeans or a slightly baggy blazer, getting a piece tailored to your shape will make it look and feel brand new.Your local tailor should even be able to turn a pair of straight-leg jeans into skinny ankle pants to update your look even more. - Experiment with dye
Maybe you have a favorite black shirt that’s looking faded, or maybe you’re looking for a way to update a basic white tee. Either way, utilizing fabric dye can help you freshen up some of your old pieces. Try a trendy dip-dye on an old white shirt to make it feel like an all-new piece. - Replace the buttons
Grab an old button-up cardigan and head to your local fabric store to select some new buttons. Whether you choose natural wood buttons, pearl buttons, or sparkly gem buttons, this is an inexpensive way to make an old cardigan or shirt feel brand new. - Spray with starch
Starch isn’t just for pressing collars and cuffs—it actually makes clothing look new again by binding the fabric fibers together to give clothing a crisp (but not stiff) finish. Adding starch to your ironing routine will also reduce fraying and will act as a barrier against dirt and stains, increasing the longevity of your favorite pieces. For extra freshness, use a scented starch like Niagra Spray Starch Plus Original Lavender. - Iron out wrinkles
It may seem overly simple, but blasting out wrinkles with an iron can actually make your clothes look as new as the day you bought them. Most people today either don’t know how to iron properly or don’t take time to iron at all. When you iron your clothes with an attention to detail, you’ll understand what you’ve been missing out on. - Wash inside out
You can keep your clothes looking new longer by washing them inside out to prevent fading. This is especially important for dark-wash jeans and clothing items with embellishments like sequins or beads. For added protection, hand wash these items or use the gentle cycle on your laundry machine. - Wear a slip or shapewear
You’ll have reached the pinnacle of adulting when you have slips and shapewear in your closet. Most young professionals still purchase clothing with thin, flimsy fabrics to save money, but this results in distracting lumps and see-through fabrics in all the wrong places. Wearing a slip or shapewear underneath these flimsier clothing items will minimize those distractions and make your clothes look instantly more expensive. - Accessorize
A statement scarf or necklace can give new life to simpler shirts or sweaters you’ve grown tired of. Statement accessories command attention, and therefore need the support of an understated outfit to really stand out. With the right accessories, an outfit you’ve worn a hundred times before can suddenly feel like a whole new look. - Mix and match
Experiment with new layers and combinations of your basic and trendy pieces to make your wardrobe feel new. Layer a t-shirt or sweater over a dress to make it look like a new skirt. Wear tights under shorts to create a new fall look. Mix bold prints like florals or plaids with more neutral prints like skinny stripes for an easy style refresh.
Sometimes, even giving your closet a little TLC can help make your clothes feel newer. Rearrange clothing items by style or color for a fresh, organized look. Take things a step further by reconfiguring your closet to maximize storage space—read our tips here.
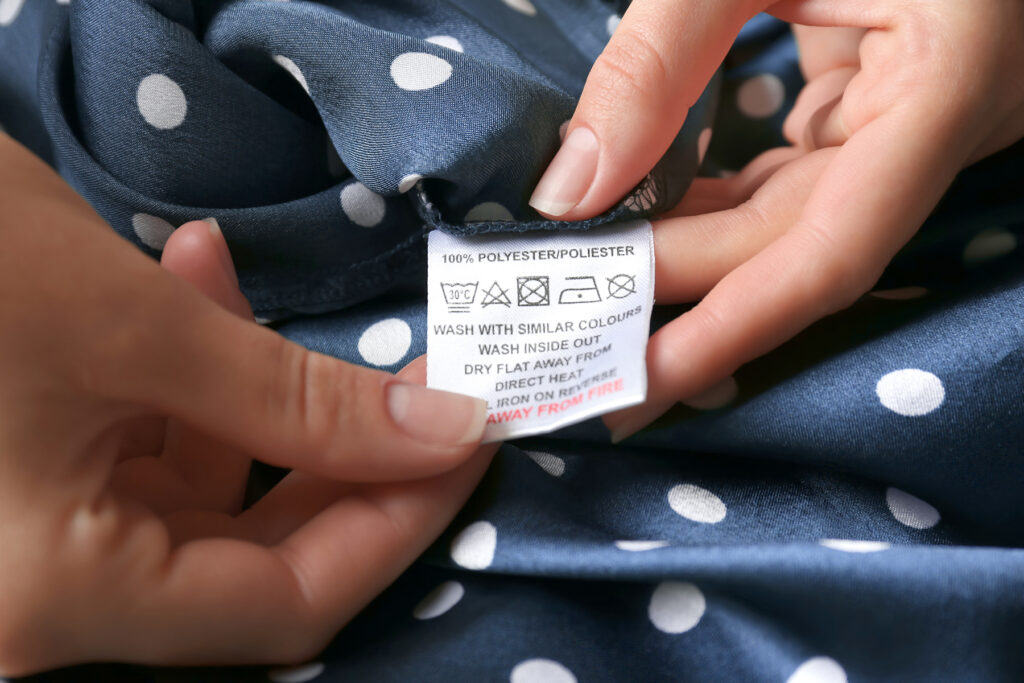
Wash warm. Use low heat. Bleach as needed. If you’re not checking your clothing labels you could end up damaging some of your favorite go-to pieces. Having trouble decoding exactly what all those icons mean on your tags? We’ve got you covered.
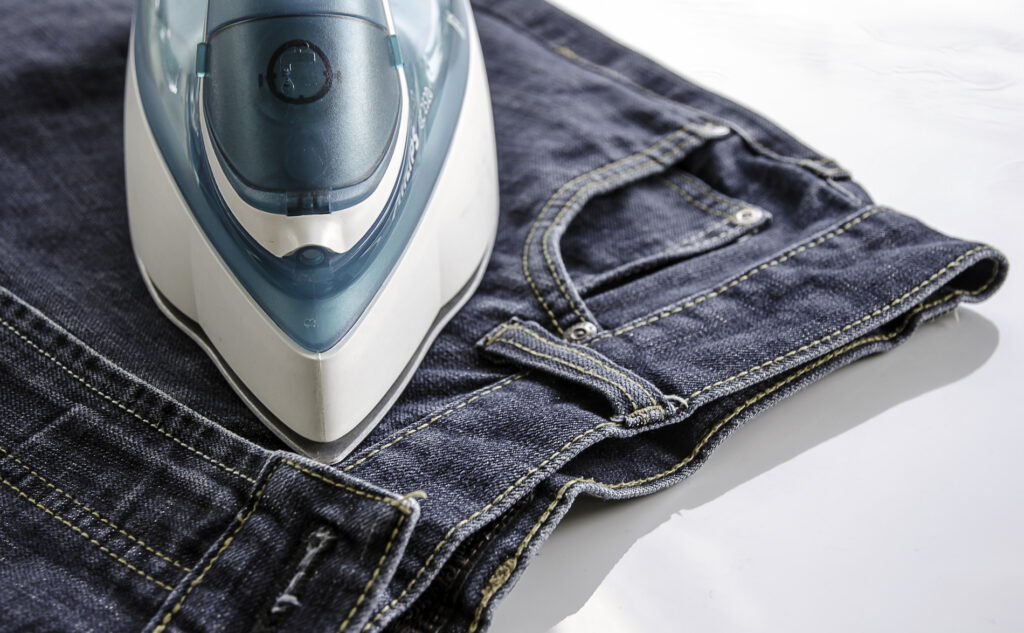
Your favorite jeans have been with you for a long time. Isn’t it time you did them a favor and gave them a professional finish? A little Faultless and handy work with the iron and you’ll become the envy of casual Friday. Here’s the play by play.
1: Select the Faultless Spray Starch or Magic Sizing that’s right for you.
2: Apply starch. Iron small areas of the pants or jeans including the waistband, zipper placket, then the body of the jeans, saving the legs for last.
3: Place the inseams together, smooth the creases with your fingers
4: Fold the top leg back over the body, line up the inseam with the out seam, and iron.
5: Spray and iron again along the crease line to ensure a sharp, smart crease.
6: Spray and iron again along the crease line to ensure a sharp, smart crease.
7: Turn the pants over and repeat the procedure on the other leg.
8: Smooth both legs flat and touch up on areas needing special attention — usually near the top of the leg.
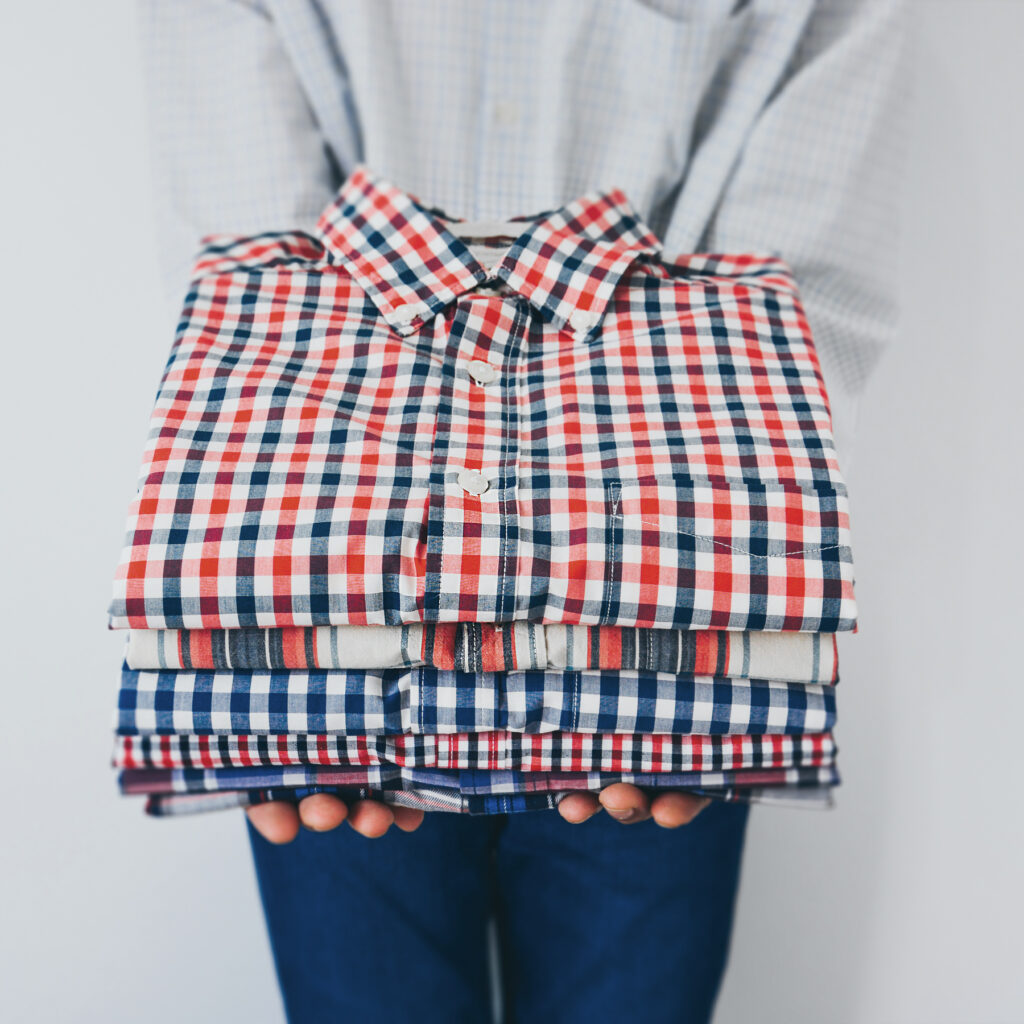
Upgrading your wardrobe with a dressy new shirt is a step toward making the right impression in your adult life post-grad. More than likely, your shirt arrived looking crisp and folded, but those folds left sharp, unsightly creases you can’t be seen wearing in public.
This shirt may represent your first article of clothing that needs regular ironing, and that’s okay. In fact, many college graduates are unsure of how to iron a shirt, and instead will throw their button-downs and dress shirts in the dryer in hopes of eliminating some of the wrinkles. The following tips will help you get beyond the amateur dryer fluff technique to achieve a clean, professional look in five minutes or less.
Preparation:
For a new shirt that hasn’t been washed yet, the best way to get wrinkles out is to use starch. Original works best on the shirt body, but you’ll want to use heavy starch on the cuffs and collar. Starch works best on a heat setting of 6 or lower to avoid flaking.
Collar:
Pop the collar up and lightly spray with starch. Allow the starch to soak in for a few seconds, then press across the inside of the collar from tip to tip. Flip the shirt over and do the same thing to the outside of the collar.
Cuffs:
Unbutton the first cuff and lay it flat on the ironing board. Spray lightly with starch, then press from edge to edge, being careful not to iron over buttons. Flip the cuff over like you did the collar and repeat the process. Do this for both cuffs.
Sleeves:
This can be the trickiest part of the shirt to iron, as you’ll need to iron through two layers of fabric. The key here is to make sure both layers are smoothed out before applying the iron. If you need your shirt to stay wrinkle-free, use a light layer of starch. Otherwise, you can use steam to assist.
Lay the sleeve flat on the ironing board with the seam running along the bottom of the sleeve (not the middle). Start pressing at the top and work your way down to the cuff. If you want a crisp crease down the outside of your sleeves, press the iron along the top edge of the sleeve. If not, just skip ironing over the very outside of the sleeve or insert a rolled towel into the sleeve before you iron.
Back/shoulders:
Open the shirt and lay it over the square edge of the ironing board so that the shoulders fit over the square edges. If the back of your shirt has a box pleat, and you want to emphasize that, pinch the top of the pleat and pull down gently to get the pleat in place, then press. Work your way slowly from the top of the shirt down to the bottom, using starch to make the process faster and easier. Slide the shirt over the board as needed, but don’t worry about getting all the way around to the front until the back is completed.
Front:
Begin with the side that has buttons and carefully press between each set of buttons. Never place the iron directly over a button. Next, slowly work your way from the shoulder to the bottom of the shirt until the wrinkles are eliminated. Do the same on the other side. If your shirt has a placket (folded fabric where the button holes are), iron both the front and back since this area of your shirt is always visible.
Final review:
Inspect the results and touch up any leftover wrinkles. When finished, immediately hang the shirt on a hanger to preserve your hard work.
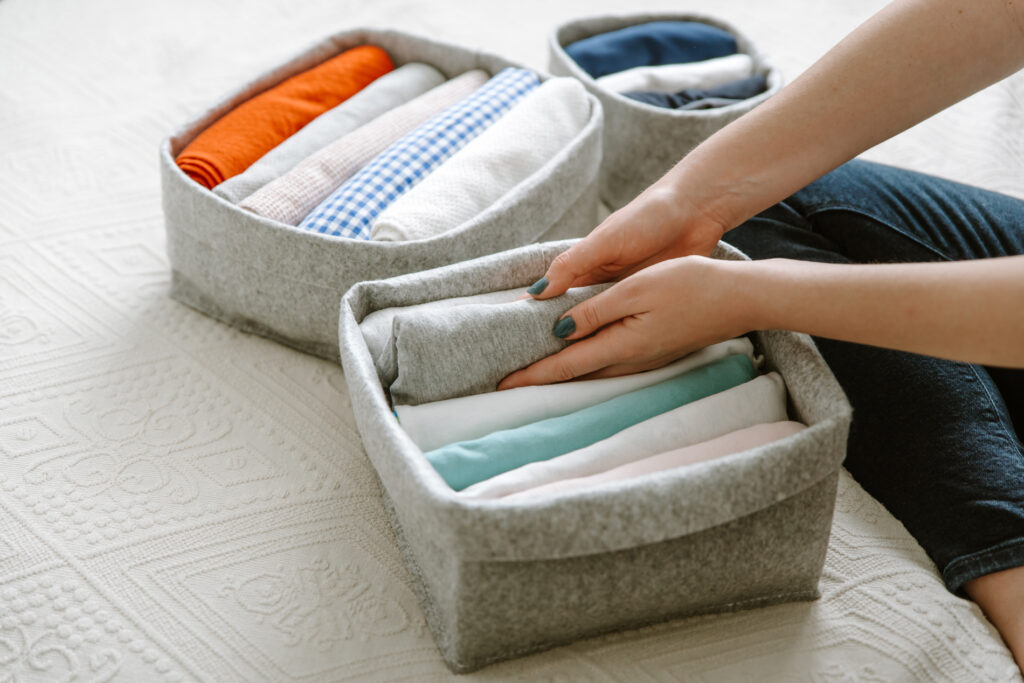
Winter is long gone, but your sweaters are still taking up way too much space in your closet. We’ve got two simple solutions for you. All it takes is a little planning and a few boxes to bring back space and organization to your home.
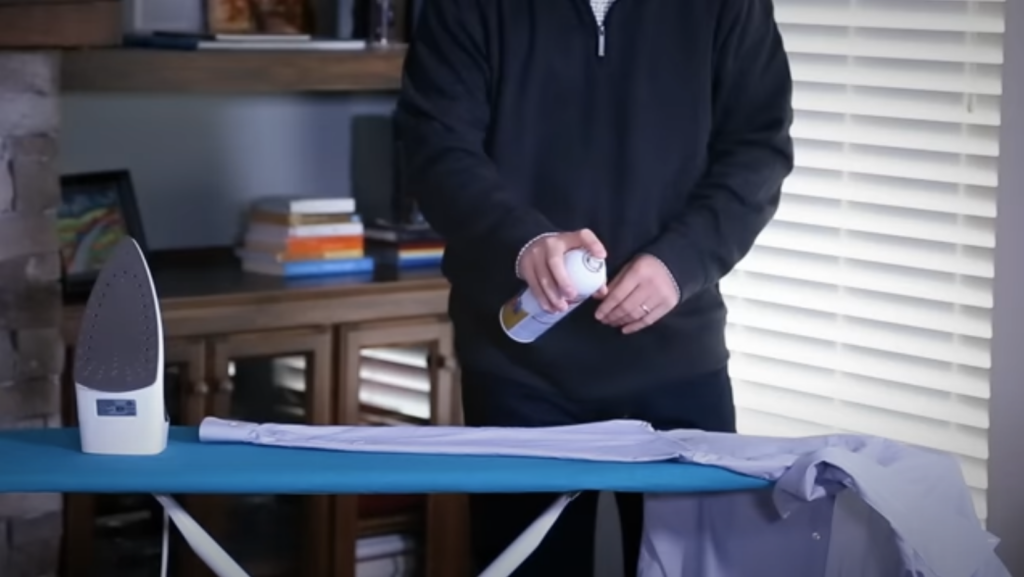
Why pay to have your dress shirts pressed when you can DIY? We’ll show you step by step how to iron your dress shirts like a professional. Watch the video or read the instructions below. You’ll be feeling like an ironing pro in no time.
Starch is the key to getting the clean, crisp finish of a professionally pressed shirt. You can use a basic starch like Faultless Premium on the entire shirt, or switch to heavy starch on the collar and sleeve cuffs.
1. Start with the collar
Starch and press across the inside of the collar from tip to tip. Flip the shirt over and do the same thing to the outside of the collar.
2. Shift to the Shoulders
While you’re here, starch and press the yoke of the shirt, the area just below the collar.
3. Move to the cuffs
Next, unbutton one of the cuffs and lay it flat on the ironing board. Starch and press from edge to edge without ironing over the buttons. Flip the cuff over like you did the collar and repeat the process. Do this for both cuffs.
4. Get to work on the sleeves
The sleeves are the trickiest part since you’ll have to iron through two layers of fabric. Make sure both layers are smoothed out before starching and pressing. The seam should run along the bottom of the sleeve, not the middle.
Want a traditional creased sleeve? Press the top edge of the sleeve as you work your way down. To avoid a crease, just avoid ironing the outside edge of the sleeve.
5. Get your back on track
For the back of the shirt, open it up and lay the shoulders over the square edge of the ironing board. Spray with starch and work your way slowly from the top of the shirt down to the bottom.
6. Flip the focus to the front
For the front, start with the side that has buttons. Spray with starch, then carefully press between each set of buttons. Again, never iron directly over a button. Slowly work your way from top to bottom.
7. Polish up the placket
On the other side of the shirt, make sure to iron the front and the back of the button hole placket.
Now that’s a professional finish.
That’s it! If you’re not wearing the shirt right away, hang it up to preserve your handy work until you’re ready to wear it. We hope you found this how-to helpful, and don’t forget to check out our other tips and tricks for stepping up your ironing game.
We all know that starch helps your clothes look their best. But do you know if you’re using your starch can correctly? Follow these six simple steps the next time you get ready to use Faultless.
2. Shake gently
3. Tilt slightly, never more than 45° from an upright position
4. Hold a proper distance of 6″ – 10″ from garment
5. Press nozzle firmly and spray fabric lightly and evenly
6. Rinse with warm water after every use
Starching used to be considered a lost art, but it’s making a comeback now that people are becoming aware of its benefits. Here are five advantages of having starch in your laundry arsenal:
Starching used to be considered a lost art, but it’s making a comeback now that people are becoming aware of its benefits. Here are five advantages of having starch in your laundry arsenal:
1. Makes ironing easier + faster
Starch has ironing aids that help the iron glide faster and “sets” the fabric so you don’t have to iron over the same area as many times.
2. Helps you look polished
There’s a noticeable difference between a professionally laundered shirt and one that’s been cleaned and ironed at home—except when you use starch.
3. Keeps wrinkles out longer
Compared to alternatives like steam, starch is better at helping you maintain that freshly ironed look throughout the day.
4. Protects fabric from stains
Starch acts as a barrier between fabric and dirt or sweat, causing dirt to stick to the starch instead of the fabric and making it easier for these stains to come out in the wash.
5. Extends the life of fabric
A big misconception about starch is that it degrades fabric over time. In reality, it extends the life of fabric by preventing fraying and lessening the need for harsh, heavy-duty cleaning products in your laundry routine.
Ready to get started using starch? Check out our tutorial for how to iron a dress shirt like a pro.
Maintaining pleats in a skirt or a pair of pants is thought to be one of the most challenging ironing tasks, but with the right technique, you can get your pleats looking fresh in no time. The technique varies slightly depending on whether your clothing item contains pockets or pleats all the way around. We’ll cover every one of these scenarios in this post and have you feeling confident about keeping your pleats polished.
General Tips:
The best way to find how the pleat is supposed to appear is to pinch the top of the pleat and gently pull down on the bottom of the garment or wherever you think the pleat should end. This will show you how long the pleat is and exactly where you should iron creases.
If your garment has pockets, turn it inside out and iron the pockets so that they lay nice and flat. Doing this will make ironing the pleats easier. You can use starch on the pockets to make them instantly flatten when you press them.
If you’re hesitant to use starch because your garment is dark, turn the garment inside out and spray starch on the inside of the garment before ironing the outside to achieve the same polished effect.
When a pleat won’t hold its shape for you to iron, pin it in place with sewing pins or paperclips. Iron above and below the pin, then remove the pin to finish ironing the pleat.