
Interviewing for professional internships and jobs post-grad is an exciting time full of anticipation and nerves. You’re hoping to get your foot in the door to gain relevant experience that will launch you into your career. The stakes are high, and selecting the right outfit could ultimately make or break your interview. There’s a distinct difference between formal attire and business attire, and even if you were part of a fraternity, you likely don’t have all the necessary pieces in your closet to get dressed for your first interview. Use the following as a guide to understanding how to dress for an interview in both formal and casual situations.
Shirt
Solid, light-colored dress shirts are preferred in formal business settings. The shirt you wear should be ironed and starched to prevent wrinkles as you travel to the interview. White, light blue, or light pink are all versatile options that will hide sweat stains in the event you get nervous. Make sure the shirt you select is the right size and fit—an ill-fitting shirt will make you look inexperienced and feel less confident.
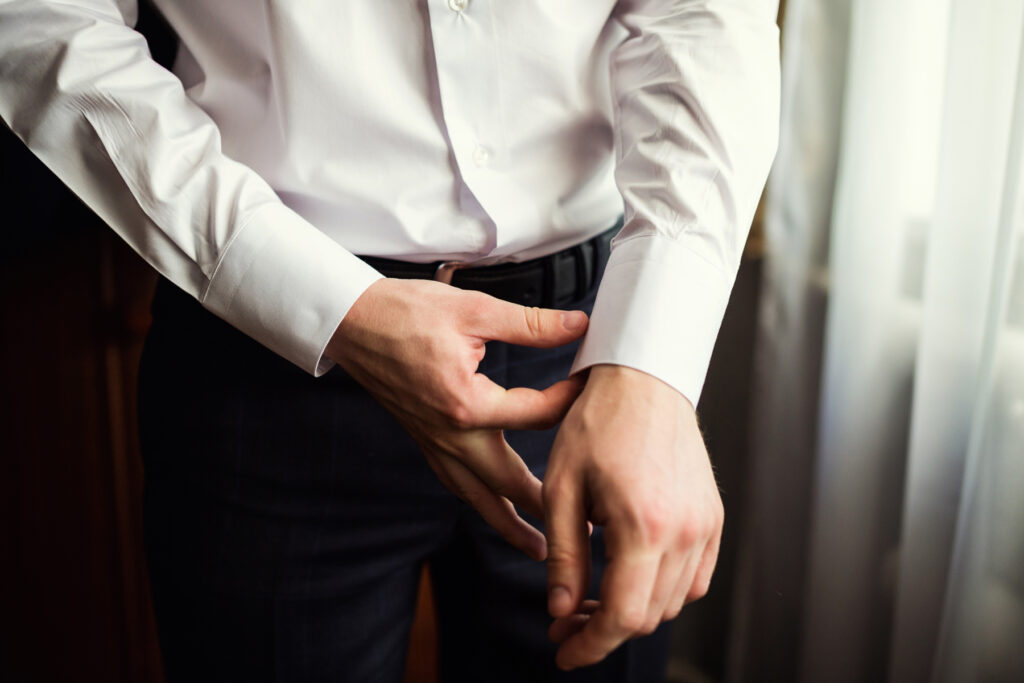
In a more casual setting, you should still wear a dress shirt, but feel free to skip the tie or opt for a classic gingham print.
Pants
A slim-fitting pair of pants will give you a tailored, professional look. For a formal interview, you’ll want to wear navy or gray dress pants. Black is acceptable, but may look a little too formal in certain contexts.
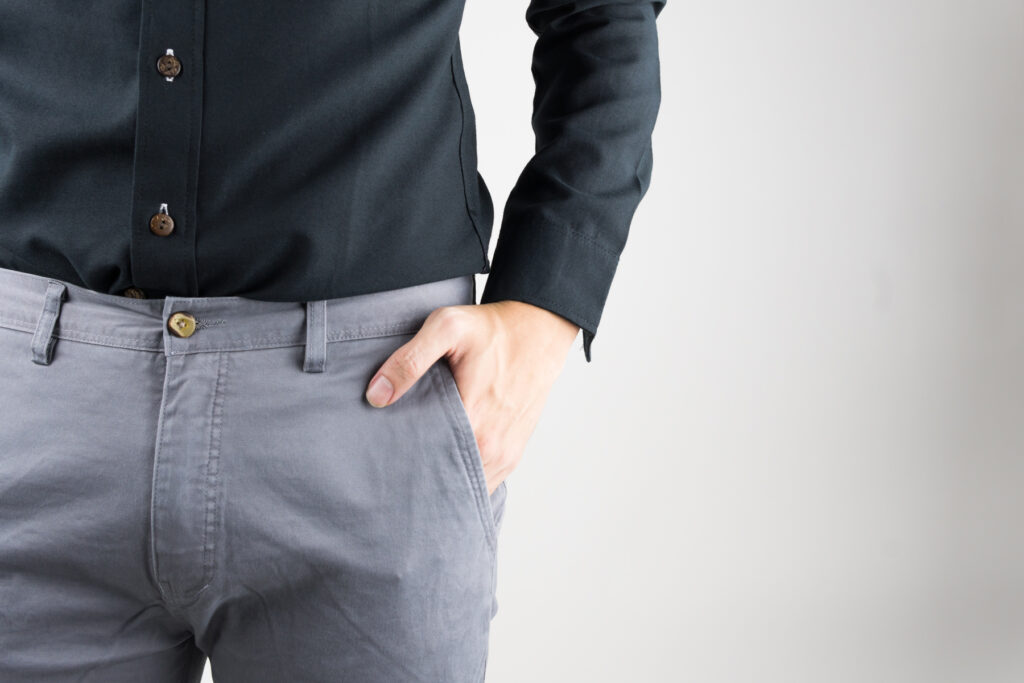
For a casual interview, chinos work great—just be sure to select a pair in a classic color like navy, khaki, or army green to avoid looking too eclectic.
Jacket/Suit
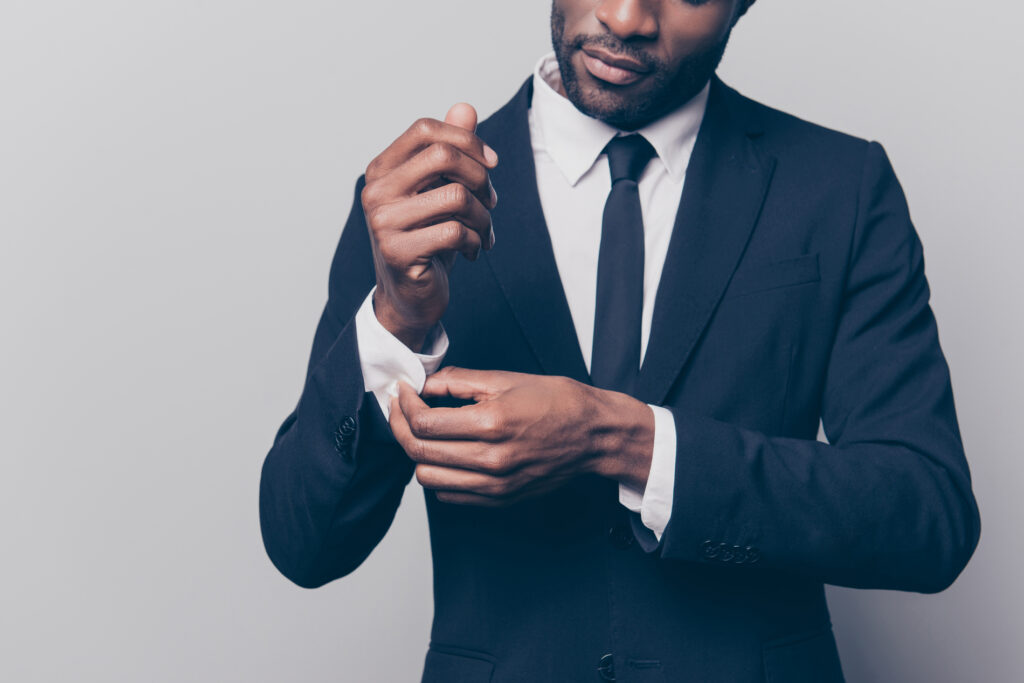
If you’re interviewing at a corporation and really looking to impress, you may want to find a fitted suit to wear. This will be one of your greatest investments, especially if you’re looking to work at a company that expects formal business attire on the daily. Don’t borrow or rent a suit—once again, ill-fitting clothing draws attention to your experience level. You’ll want to look and feel your best on the big day, so invest in a suit and have it tailored for a perfect fit.
A blazer or sport coat can dress up a simple shirt/chino combination, but avoid adding a sweater vest to the mix, as this can make you look more like a college student than a job candidate.
Tie
A standard tie is a safe bet, although skinny ties can work too. Choose a solid color or understated print—an interview is not the place to show off your quirky side. Bow ties are also acceptable, but be careful to select one that won’t cause your interviewer to be distracted. You want your personality and resume, not your bow tie, to be what sticks in your interviewer’s mind after you leave.
Socks
Fun, printed socks are a popular way to maintain your unique sense of style when the rest of your outfit feels plain, but in a job interview you should stick to dark-colored socks and keep your overall look professional. Save the crazy socks for when you land your job.
Shoes/Belt
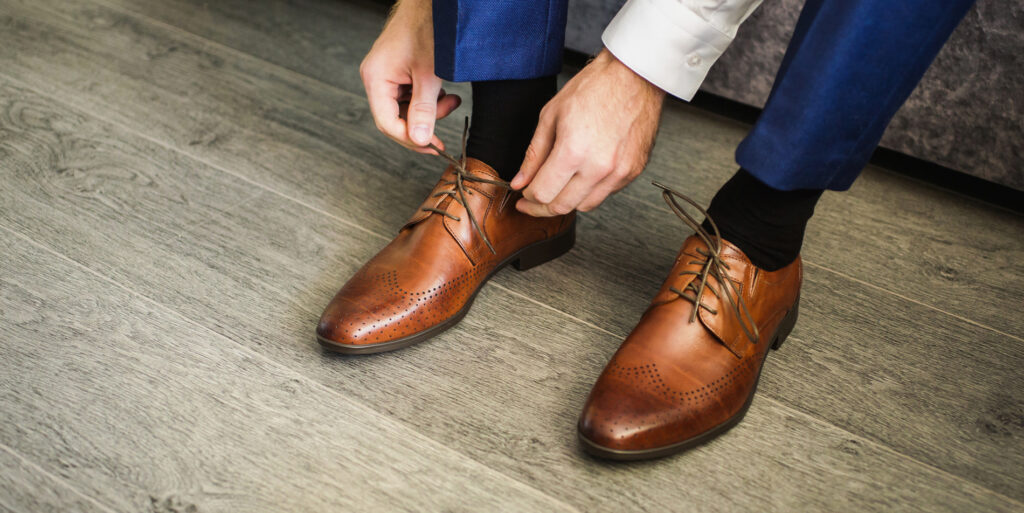
Whether you choose black, brown, or cognac, your shoes and belt should match each other. If you’re worried about feeling overly formal, stick with brown or cognac—both of these pair well with a navy or gray suit to give off a vibe that’s laid-back but still professional.
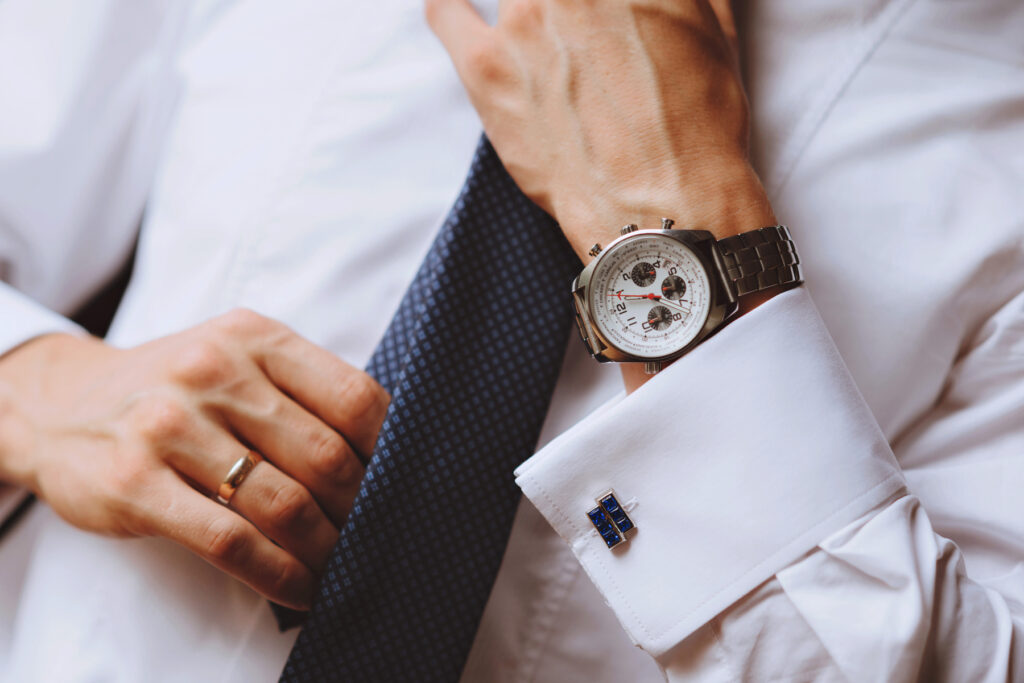
Accessories
Keep the accessories to a minimum for your interview. No need to wear cuff links, but a pocket square or nice watch can act as finishing touches to your outfit. You’ll want to bring along a copy of your resume, so invest in a leather envelope bag or slim briefcase to boost your look even more.

Grooming
If you have facial hair, make sure it’s well maintained before you head into your interview. Additionally, pay a visit to your trusted barber and get a haircut before the big day. When you look and feel your best, your confidence will shine through and your interviewer will take notice.
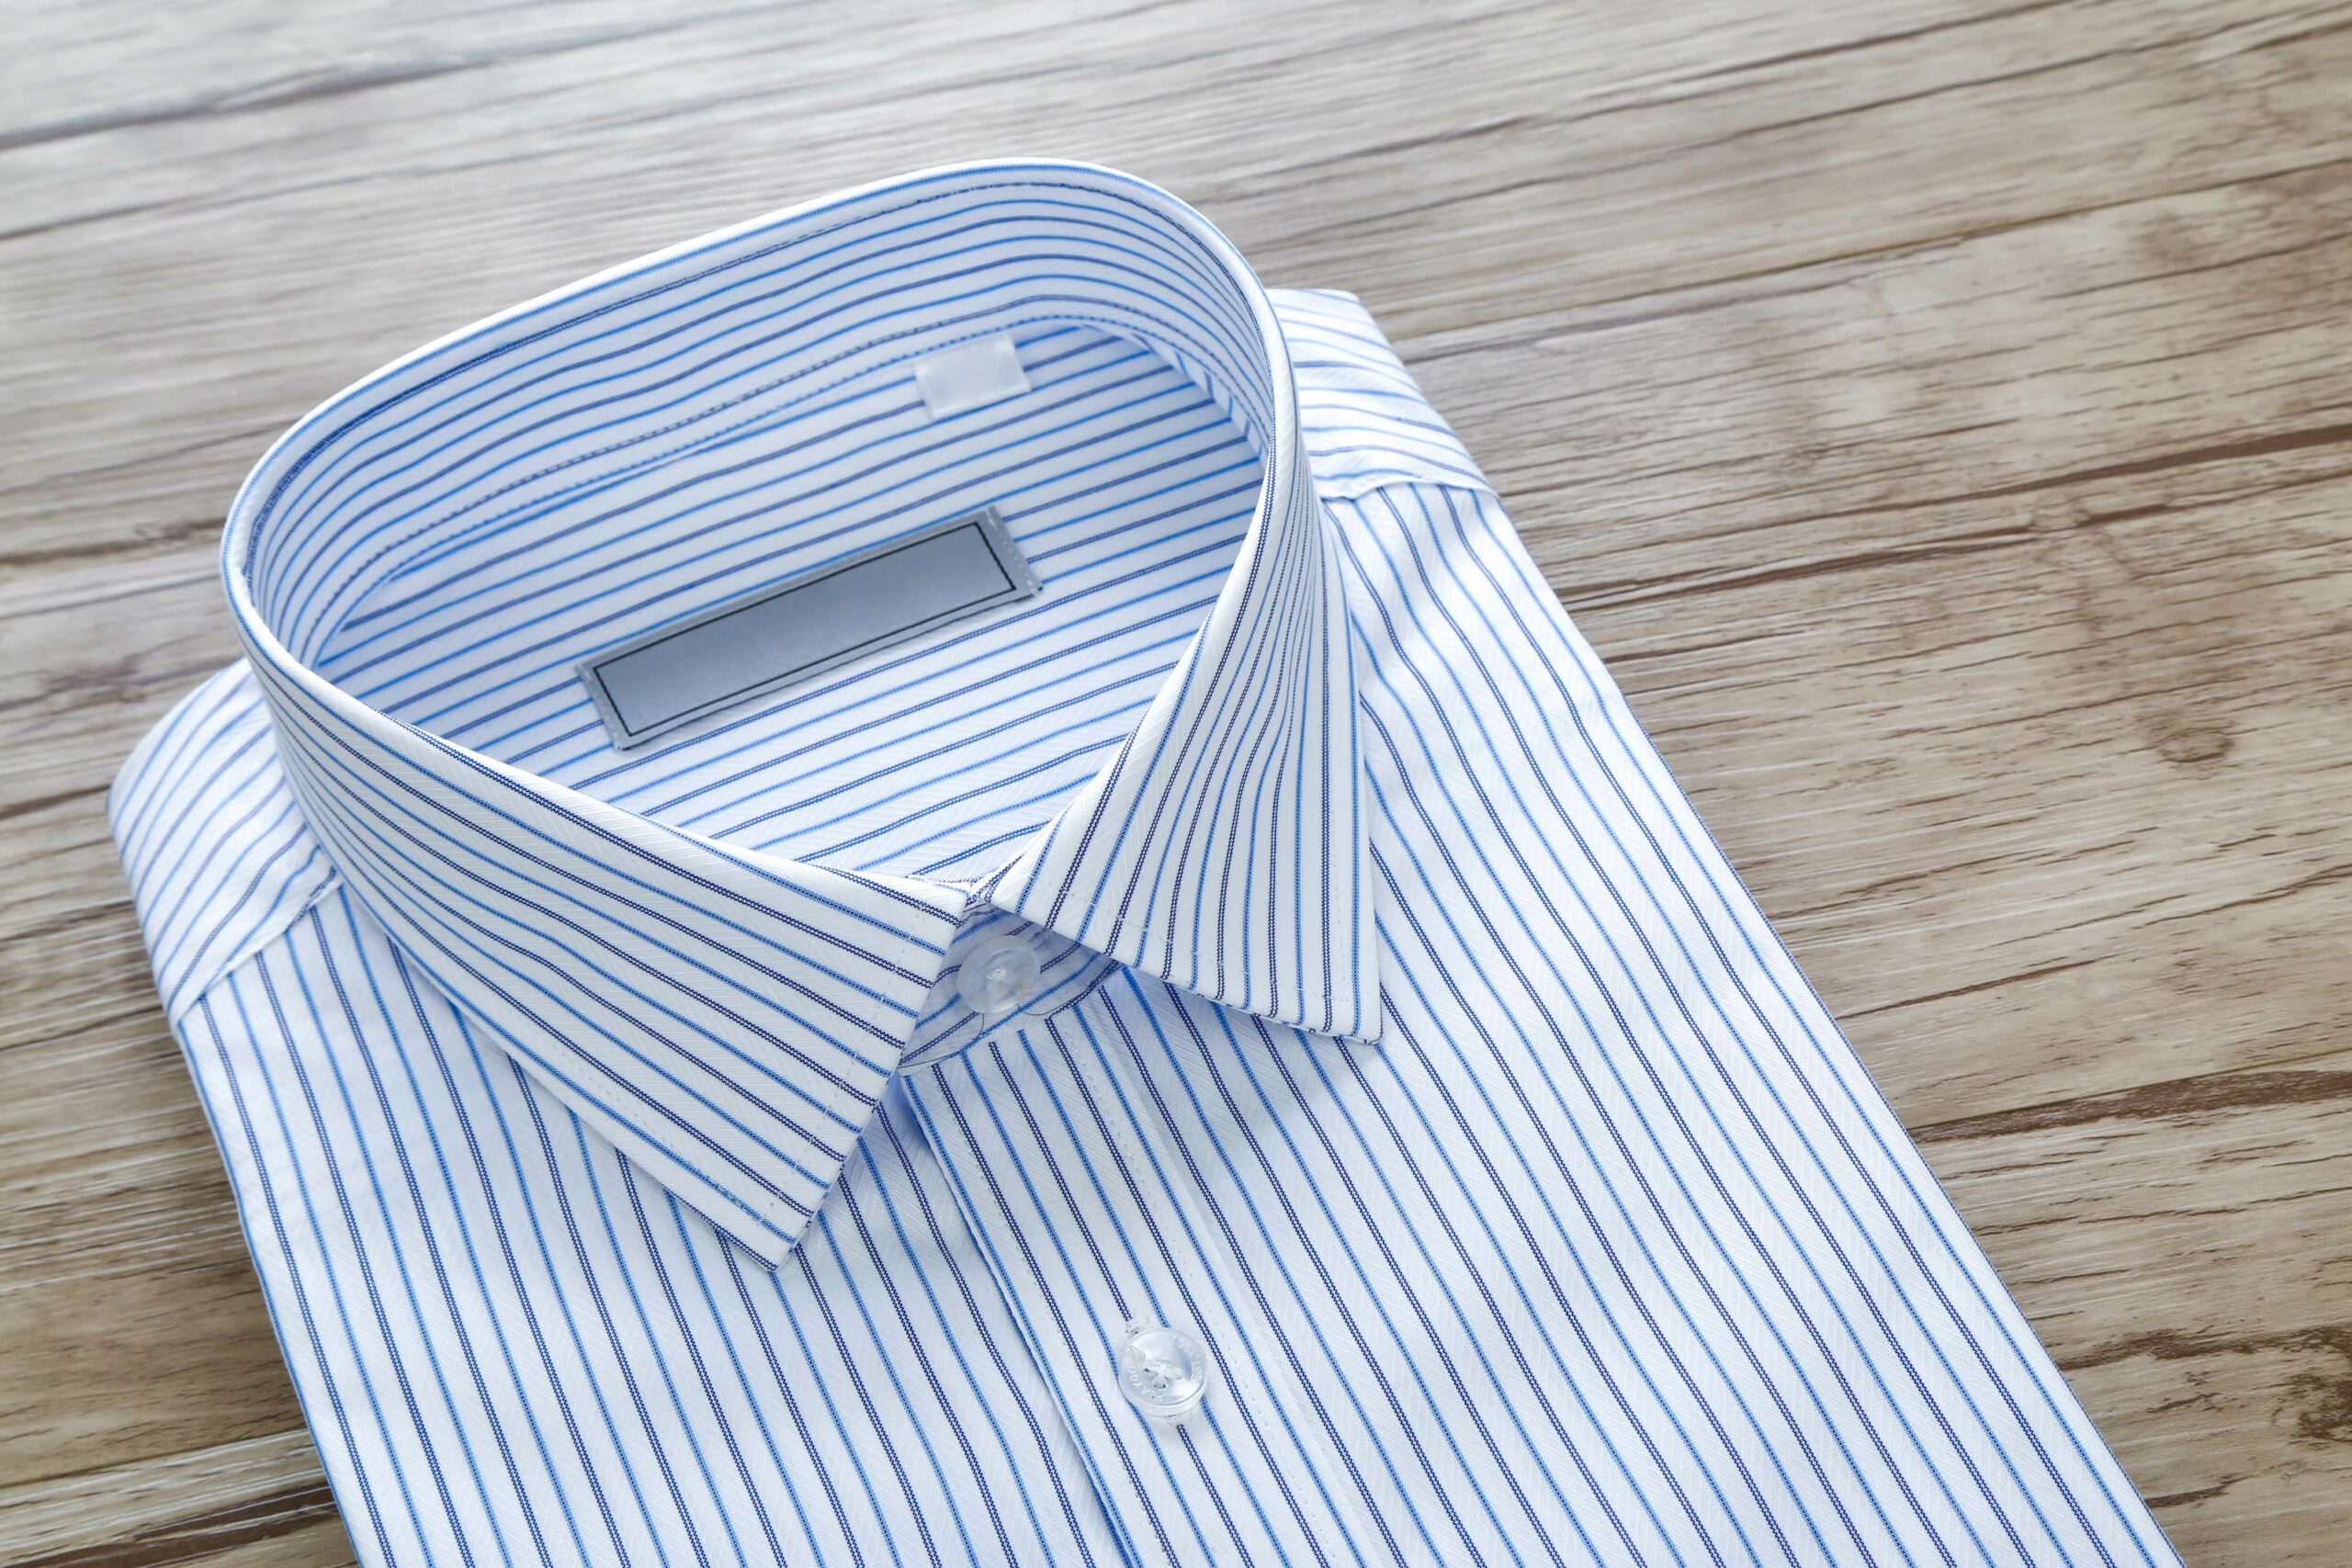
Ironing your clothes with starch is essential to looking sharp for an interview. Use Niagara Heavy Spray Starch on your button-up—especially on the collar and cuffs—for a stiff, polished look. If you’re not sure how to iron with starch, check out our easy guide.
Why pay to have your dress shirts pressed when you can DIY? We’ll show you step by step how to iron your dress shirts like a professional. Watch the video or read the instructions below. You’ll be feeling like an ironing pro in no time.
Starch is the key to getting the clean, crisp finish of a professionally pressed shirt. You can use a basic starch like Faultless Premium on the entire shirt, or switch to heavy starch on the collar and sleeve cuffs.
1. Start with the collar
Starch and press across the inside of the collar from tip to tip. Flip the shirt over and do the same thing to the outside of the collar.
2. Shift to the Shoulders
While you’re here, starch and press the yoke of the shirt, the area just below the collar.
3. Move to the cuffs
Next, unbutton one of the cuffs and lay it flat on the ironing board. Starch and press from edge to edge without ironing over the buttons. Flip the cuff over like you did the collar and repeat the process. Do this for both cuffs.
4. Get to work on the sleeves
The sleeves are the trickiest part since you’ll have to iron through two layers of fabric. Make sure both layers are smoothed out before starching and pressing. The seam should run along the bottom of the sleeve, not the middle.
Want a traditional creased sleeve? Press the top edge of the sleeve as you work your way down. To avoid a crease, just avoid ironing the outside edge of the sleeve.
5. Get your back on track
For the back of the shirt, open it up and lay the shoulders over the square edge of the ironing board. Spray with starch and work your way slowly from the top of the shirt down to the bottom.
6. Flip the focus to the front
For the front, start with the side that has buttons. Spray with starch, then carefully press between each set of buttons. Again, never iron directly over a button. Slowly work your way from top to bottom.
7. Polish up the placket
On the other side of the shirt, make sure to iron the front and the back of the button hole placket.
Now that’s a professional finish.
That’s it! If you’re not wearing the shirt right away, hang it up to preserve your handy work until you’re ready to wear it. We hope you found this how-to helpful, and don’t forget to check out our other tips and tricks for stepping up your ironing game.
Whether you’re taking a business trip or simply trying to maximize room in your closet, there’s a right and wrong way to fold a dress shirt. Follow these five simple steps to keep your shirts crisp and wrinkle free.
1. Fasten all of the buttons on your shirt and lay it facedown on a flat surface.
2. Pinch the fabric at the top of the shirt between the collar and the shoulder. Do the same a the bottom of the shirt in the same spot.
3. Grasp the shoulder of the shirt. Fold the whole section over so it rests beneath the collar. Then, fold the sleeve back on itself so it lies down in line with the folded portion.
4. Grab the corners at the bottom of your shirt and fold them up to the middle. Repeat the process again until the fabric is lying underneath the collar.
5. Make sure when you pack your shirt or store it, you keep the collar free from extra pressure or weight that could wrinkle it.
Maintaining pleats in a skirt or a pair of pants is thought to be one of the most challenging ironing tasks, but with the right technique, you can get your pleats looking fresh in no time. The technique varies slightly depending on whether your clothing item contains pockets or pleats all the way around. We’ll cover every one of these scenarios in this post and have you feeling confident about keeping your pleats polished.
General Tips:
The best way to find how the pleat is supposed to appear is to pinch the top of the pleat and gently pull down on the bottom of the garment or wherever you think the pleat should end. This will show you how long the pleat is and exactly where you should iron creases.
If your garment has pockets, turn it inside out and iron the pockets so that they lay nice and flat. Doing this will make ironing the pleats easier. You can use starch on the pockets to make them instantly flatten when you press them.
If you’re hesitant to use starch because your garment is dark, turn the garment inside out and spray starch on the inside of the garment before ironing the outside to achieve the same polished effect.
When a pleat won’t hold its shape for you to iron, pin it in place with sewing pins or paperclips. Iron above and below the pin, then remove the pin to finish ironing the pleat.

So you’ve officially landed your first serious job post-grad in an office where sneakers and jeans won’t cut it—now what? The cardigan and skirt you wore to your college interview are suddenly seeming juvenile, and you never did like those dress pants your mom bought you six years ago. Before you go running through a department store grabbing blazers and slacks, take some time to figure out where you’re at in terms of your personal style today, and try to find office-friendly pieces that reflect that style. Not sure how to translate your personal style into your professional style? Use these tips as a jumping-off point.
Get the Basics
A few timeless, well-tailored pieces will provide a solid foundation for your professional wardrobe. Consider snapping up the following items in a neutral black, gray, or navy:
- Blazer
- Dress pants—pixie style for a classic, feminine look
- Skirt that hits at or just above the knee
- Button-up blouse
- Neutral patterned blouse—think tiny polka dots or thin stripes
- Heels and/or flats
Pro-Tip: Avoid tops and blouses labeled “dry clean only”—these items require frequent cleaning, which means your cleaning bills will add up fast. Instead, opt for blouses you can throw in the wash and later starch and iron to get that clean, crisp look, which could actually help you land that promotion. There’s research to back it up—a 2016 survey from CareerBuilder shows that hiring managers are 43% less likely to promote an employee who wears wrinkled clothes.
Add Some Interest
Here’s where you can let your personality really shine. Be on the lookout for unique/interesting pieces to pair with your basics for a fresh look that shows off your personal style. Whether it’s a fun pair of shoes anchoring your neutral slacks or a printed blazer, these pieces should put an extra pep in your step. Here are some suggested pairings to create interest:
- Bright heels paired with black pants and a white top
- A patterned blazer paired with a plain, fitted top
- Red or maroon pixie pants with a neutral, patterned top
- A printed blouse with neutral pants or skirt
Mix It Up
Once you’ve laid the foundation of your professional wardrobe with a few classic pieces and some more interesting patterns, don’t be afraid to mix it up with bold combinations. Even casual t-shirts or sweaters can look dressed-up when paired with a full, belted skirt and a simple gold necklace. You can also combine some of your neutral patterned pieces with your more striking prints to create a look that’s both professional and chic.
Want to make sure your basic pieces stand the test of time? Read our tips for selecting clothing items that will never go out of style.