How to Iron a Dress Shirt Like a Professional
Why pay to have your dress shirts pressed when you can DIY? We’ll show you step by step how to iron your dress shirts like a professional. Watch the video or read the instructions below. You’ll be feeling like an ironing pro in no time.
Starch is the key to getting the clean, crisp finish of a professionally pressed shirt. You can use a basic starch like Faultless Premium on the entire shirt, or switch to heavy starch on the collar and sleeve cuffs.
1. Start with the collar
Starch and press across the inside of the collar from tip to tip. Flip the shirt over and do the same thing to the outside of the collar.
2. Shift to the Shoulders
While you’re here, starch and press the yoke of the shirt, the area just below the collar.
3. Move to the cuffs
Next, unbutton one of the cuffs and lay it flat on the ironing board. Starch and press from edge to edge without ironing over the buttons. Flip the cuff over like you did the collar and repeat the process. Do this for both cuffs.
4. Get to work on the sleeves
The sleeves are the trickiest part since you’ll have to iron through two layers of fabric. Make sure both layers are smoothed out before starching and pressing. The seam should run along the bottom of the sleeve, not the middle.
Want a traditional creased sleeve? Press the top edge of the sleeve as you work your way down. To avoid a crease, just avoid ironing the outside edge of the sleeve.
5. Get your back on track
For the back of the shirt, open it up and lay the shoulders over the square edge of the ironing board. Spray with starch and work your way slowly from the top of the shirt down to the bottom.
6. Flip the focus to the front
For the front, start with the side that has buttons. Spray with starch, then carefully press between each set of buttons. Again, never iron directly over a button. Slowly work your way from top to bottom.
7. Polish up the placket
On the other side of the shirt, make sure to iron the front and the back of the button hole placket.
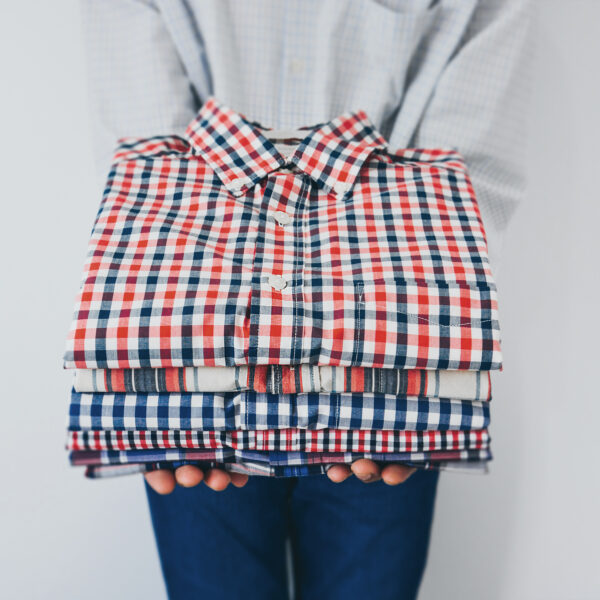
Now that’s a professional finish.
That’s it! If you’re not wearing the shirt right away, hang it up to preserve your handy work until you’re ready to wear it. We hope you found this how-to helpful, and don’t forget to check out our other tips and tricks for stepping up your ironing game.